
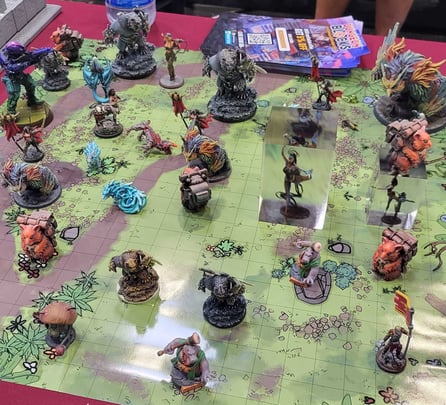
Shop3D offers on-demand 3D printing in more than 10 million colors. Learn more about Pre-Colored models and its requirements
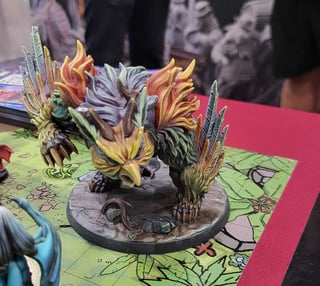
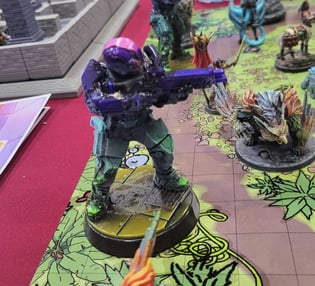
Uploading pre-colored miniatures for Only-Games and products for Trajann is an incredible way to elevate your collection to new heights and offer an exclusive and innovative medium for your artwork. You will also be featured alongside other pioneering creators on an Exclusive Only-Games Page!
Video Tutorials:
Guide provided by Adventure Together Games.
Guide provided by Printed Obsession.
Software used in the videos:
Zbrush: https://www.maxon.net/en/buy
Mesh Mixer: https://meshmixer.com/download.html
Substance Painter: https://store.steampowered.com/app/2718190/Substance_3D_Painter_2024/
PureRef: https://www.pureref.com/download.php
Paint Compatibility Chart: https://www.dakkadakka.com/wiki/en/paint_range_compatibility_chart
Pre-Colored Stylized Texture Generator: https://www.artstation.com/marketplace/p/R3vB/stylized-texture-generator-for-substance-painter
Requirements
Format Required
Note: If you opt to upload a WRL as an attachment, please add this blank MTL file as well to avoid possible compatibility issues with Shop3D.
File Size
Mesh and Details
need to have a minimum thickness of 2mm. The mesh needs to be one single model, not separated into various files as this can cause issues during the printing process.
Model Size
File Name
How to upload:
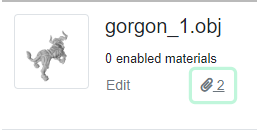
Begin by uploading your .OBJ file, adding the name, descriptions and images of your product as you normally would. Note: for Pre-Color models, a .STL file will not be accepted.
In order to avoid possible customer error and reduce the chances of your customers purchasing the wrong item. We highly recommend including the following disclaimer on your product's description:
"This model is Pre-Colored which means it is digitally painted and manufactured in color."
Proceed by clicking the "View Product" button once you're finished.
Click on the paper clip icon under the file's name, and upload your .MTL and texture file as attachments to the model.
Note: Example files provided by Printed Obsession.
Click on "Edit price", and click on the green plus icon.
Under "Material" select "Resin", and under "Color" select "Multi".
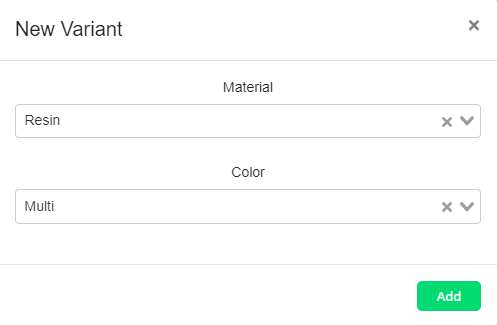
Click the green "Add" button.
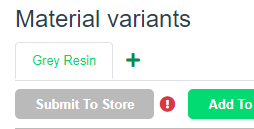
Important note: make sure that you delete the Grey Resin option to give your customers accurate pricing at face value.
We recommend a 50-80% markup from the Shop3D cost to keep your color models accessible to customers.
Tips and tricks ZBrush
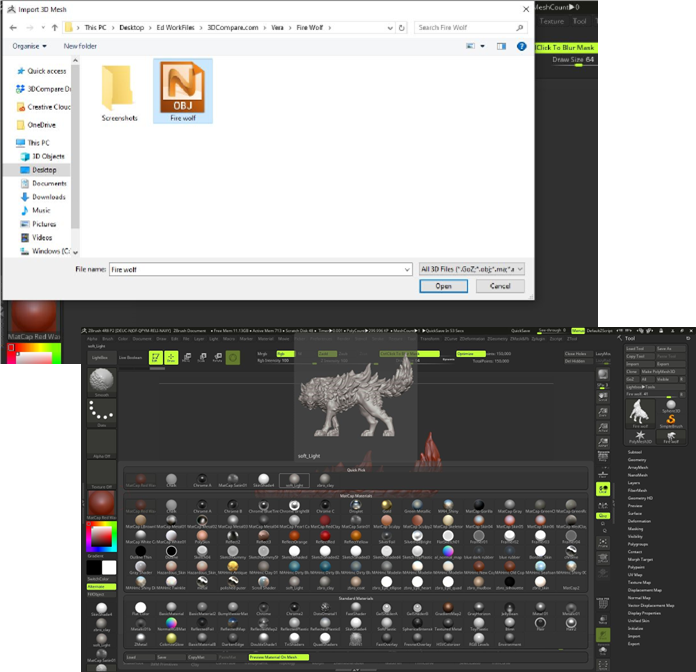
Step 1 - Open Required file
Import file > Edit > Materials > Soft Materials. This shows the best results for the textures.
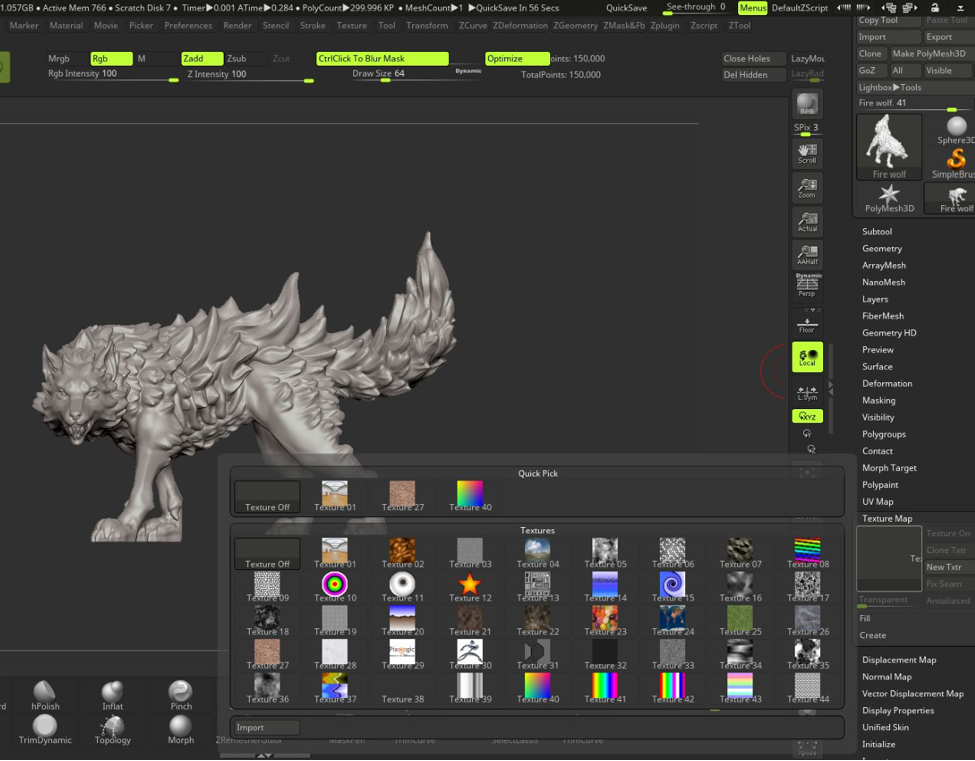
Step 2 - Add texture
Tool section > Texture Map > Import.
Step 3 - Fix wrongly imported texture
UV Map > Adjust > Flip (Horiz/Vertical)

Step 4 - Reduce the size of the model
Subtool > Duplicate the Layer > Hide Duplicate > Choose Duplicate > Geometry > DynaMesh.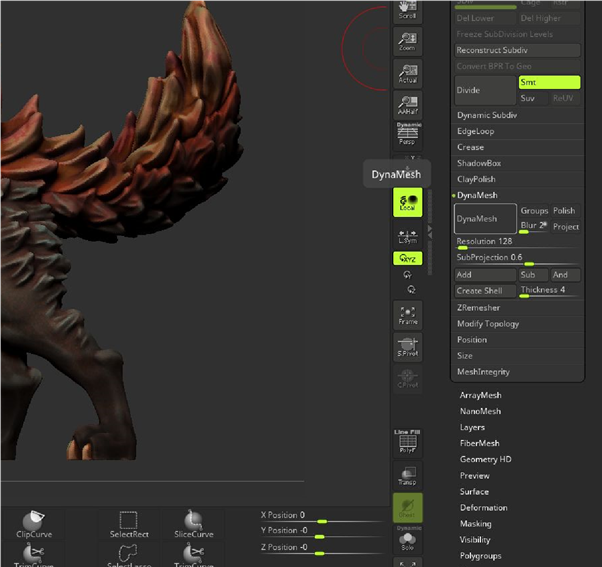
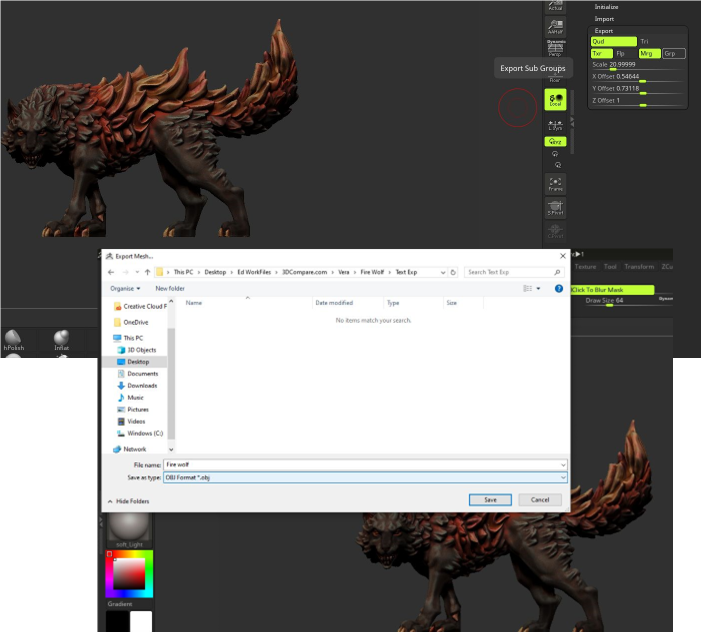
Step 5 - Exporting
Tools > Export > Untag "Grp" > Export > choose .OBJ as a format.
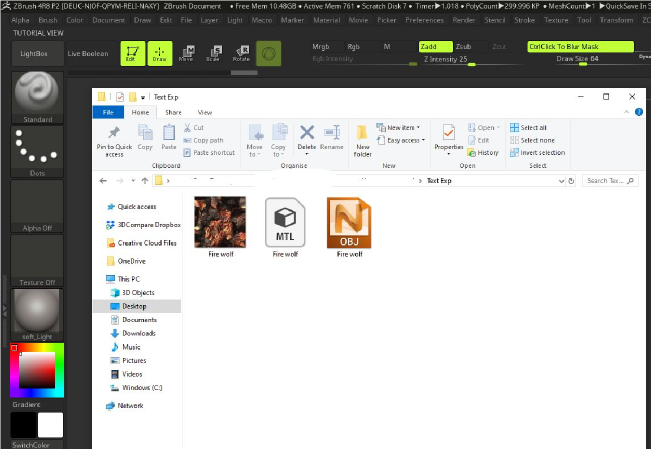
Step 6 - Convert .BMP to .JPEG
Conver .BMP to .JPEG using any free available converted (desktop or online).
Tips and tricks Maya


Get started >