![Logo Fancy shading@2x.png]](https://creator.myminifactory.com/hs-fs/hubfs/Logo%20Fancy%20shading@2x.png?height=40&name=Logo%20Fancy%20shading@2x.png)
- What is Insights?
- How to access Insights
- How to set up your first Segment
-
Learn More - Setting Up an Analysis and Managing Annotations
Accessing Insights
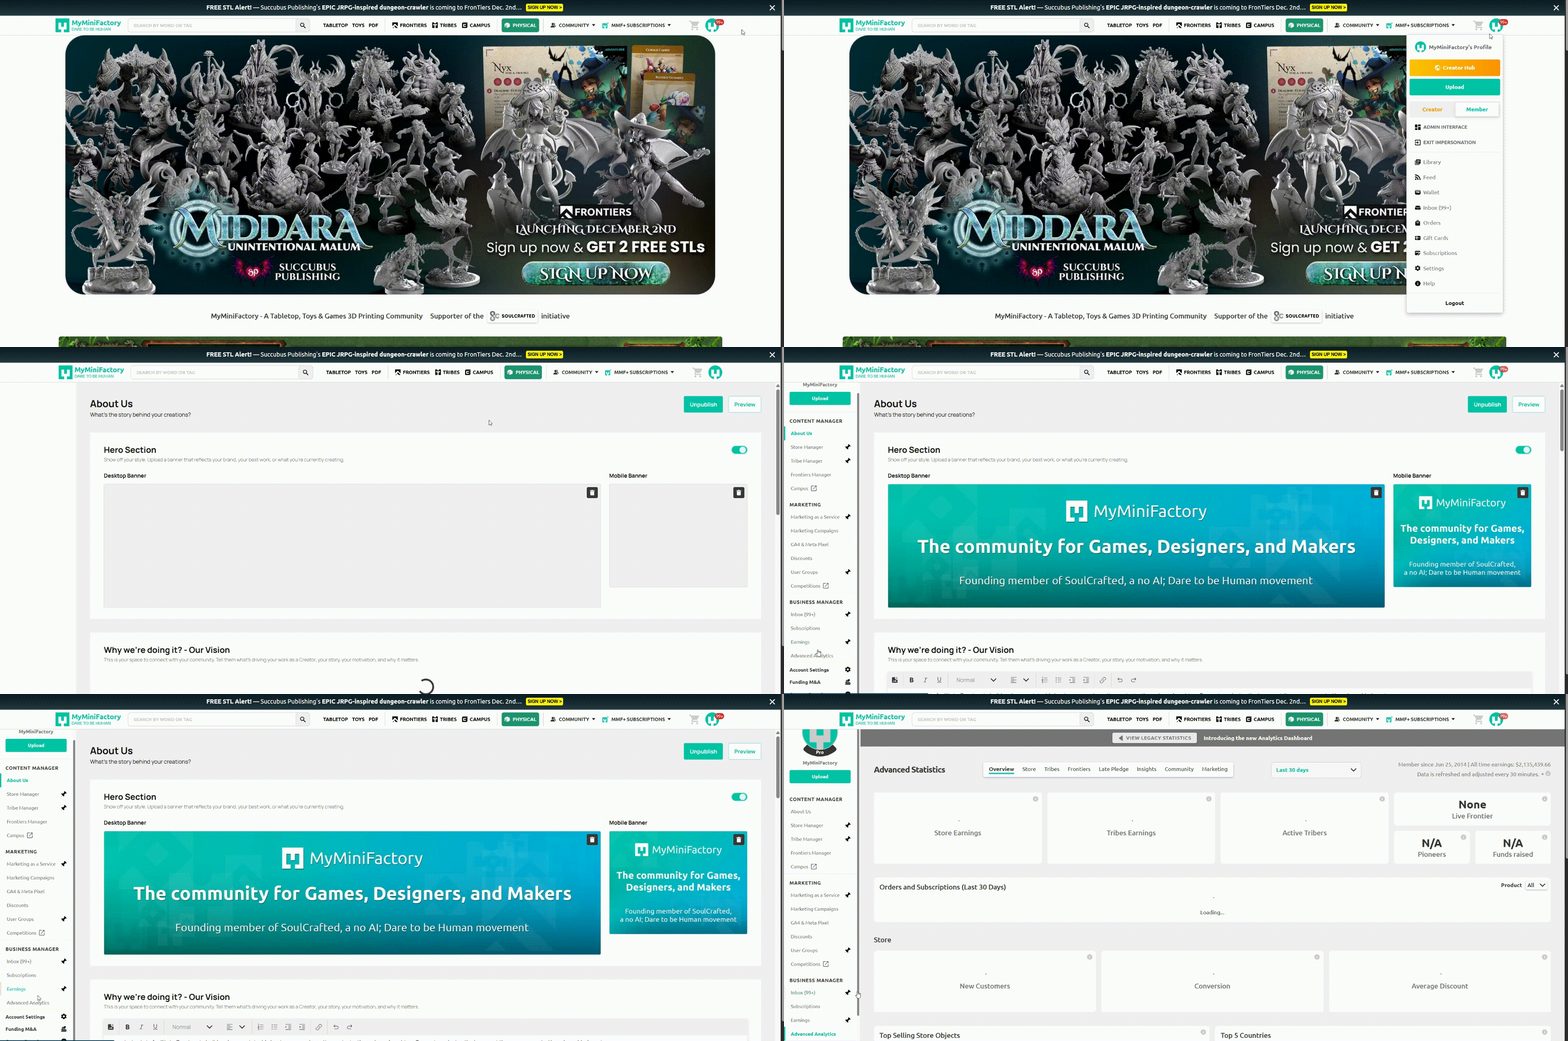
To get to Insights, first navigate to your Creator Hub and select Advanced Analytics. You can then select the Insights Tab, inside the Advanced Statistics page.
If you have at least one product, you will see the following message:
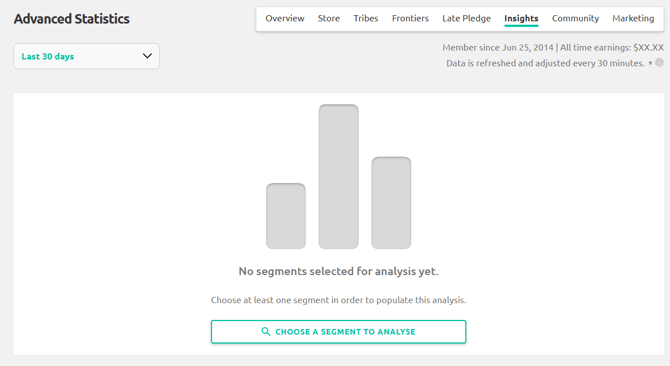
New Creators: If you’re just starting out, you’ll see a message with a call-to-action explaining that you need at least one product.
- Click the CREATE A PRODUCT button to navigate to the page where you can upload your first product.
- Once your first product is created and approved, go back to Insights.
Click the “Choose a Segment to Analyze” button. This action will display an empty widget along with a few predefined Segments ready for interaction.
Segments are groups of products designed for comparative analysis. The first four Segments are created automatically, and they are called Predefined Segments. They provide instant insights into top-performing products. You will see the following Segments in the legend:
- All Premium Items,
- Top 10 Best Sellers,
- Top 50 Best Sellers, and
- Top 100 Best Sellers.
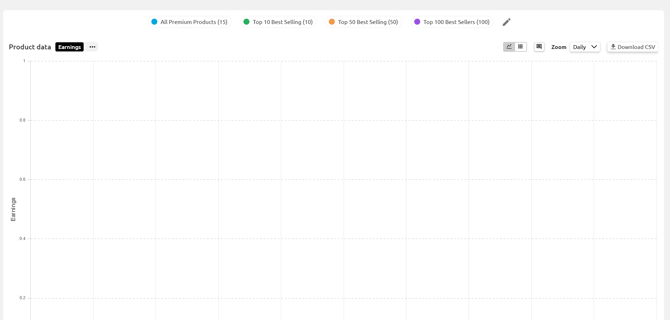
Once a Default Analysis is created, and the widget populates with data. If there were sales in the selected time period, you’ll see a graph with multiple lines showing product performance over time, helping you explore trends in your sales data.
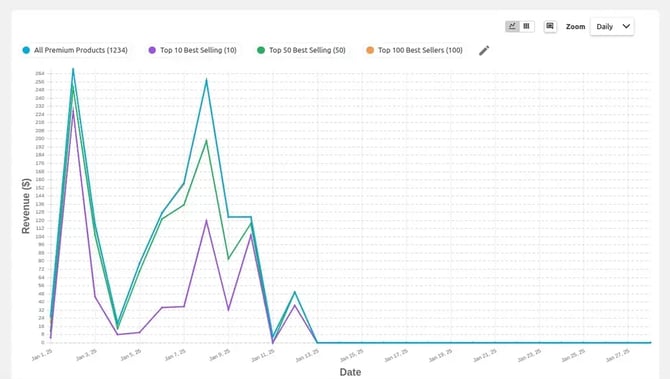
Now that you've set up your default analysis, it's time to explore further!
You can:
- Toggle between graph and table view
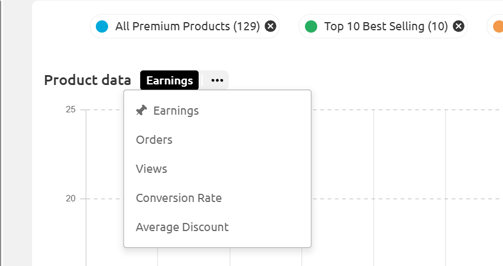
- Change the metrics displayed in the Analysis
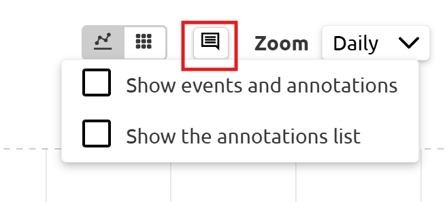
- Display events and annotations (more on this in this guide here)
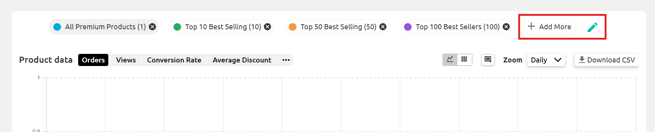
- Click the pencil icon to add and remove Segments and products into your analysis (more on creating Custom Segments below).

It's best to play around with all the elements or set yourself a specific data-led question to answer to get used to using the tool (e.g. what were my top 3 products, by orders within the last 3 months). Everything is flexible, and your data will remain safe, so explore without worry.
How to Set Up a Custom Segment within Insights
Note: You can also add individual products into your Analysis, alongside Segments.
Create a Segment:
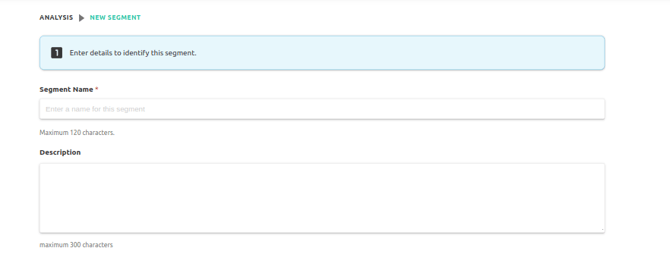
- Create a New Segment: Click on "Manage Segments" and then "+ New Segment" to start. A configuration screen will appear, guiding you through the setup process.

- Define the Segment Name: Enter a clear and descriptive name (up to 120 characters) that reflects the Segment’s purpose. This will help you identify it later.
- Add a Description: Optionally, also add a short description (up to 300 characters) explaining the purpose or focus of the Segment. This is useful for keeping track of its intent, especially when managing multiple Segments.
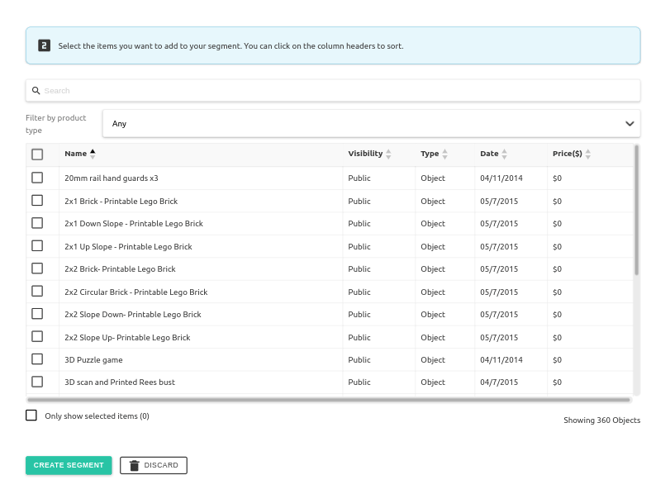
- Select Products: Browse the list of available products and use filters (e.g. product type) to narrow down your options. You can also search for specific products by title or tag for quicker identification. Click the checkboxes next to the items you want to include. You can also sort the table by columns (e.g., price or name, visibility, date) for easier navigation.
- Use "Only Show Selected": If needed, toggle the "Only Show Selected" option to review or modify the products you’ve chosen for this Segment.
- Save Your Segment: Once satisfied with your selections, click "Create Segment" to finalize it. Your Segment will now be available for use in Analyses and visualizations.
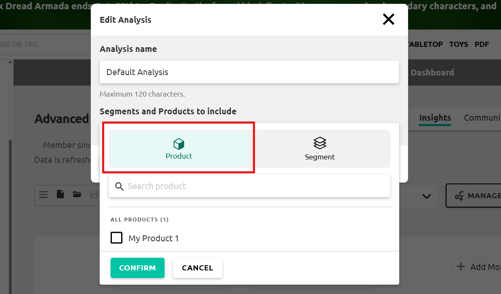
- To add your new Custom Segment to your current analysis, click on the pencil icon and then the "+ Add More" Button. This will take you to a popup where you can add more Segments and products to your analysis.
- You can also remove a Segment or product from an Analysis, by click on the “x” icon attached to name, and confirming in the "Remove Segment from chart" pop-up.
Edit a segment:
-
Click on "Manage Segment" to open the popup that contains a list of available Segments.

Click on the pencil icon for the Segment you want to edit, The editor page for this Segment will open in a new tab.- Edit the Segment Name: Edit the name with a clear and descriptive name (up to 120 characters) that reflects the segment’s purpose.
- Edit the description: Optionally, edit a short description (up to 300 characters) explaining the purpose or focus of the segment.
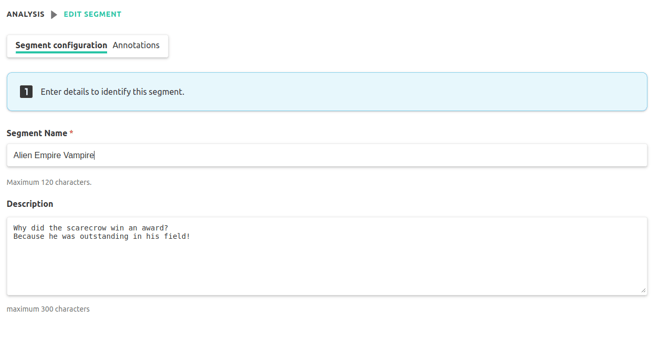
- Edit selected Products: Browse the list of available products and use filters (e.g., product type) to narrow down your options. You can also search for specific products by title or tag for quicker identification. Click the checkboxes next to the items you want to include. You can also sort the table by columns (e.g. price or name, visibility, date) for easier navigation.
- Use "Only Show Selected": If needed, toggle the "Only Show Selected" option to review or modify the products you’ve chosen for this Segment.
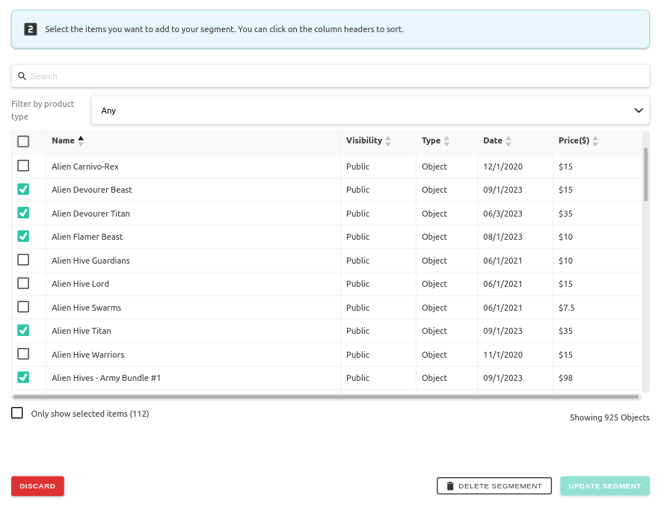
- Save Your edited Segment: Once satisfied with your updates, click "Update Segment" to finalize it.
Delete a Segment :
-
Trigger deleting a Segment: Click on "Manage Segment" to open the popup that contains a list of available Segments.

Click on the red bin icon for the Segment you want to delete.
NOTE: If your Segment is attached only to the current Analysis:
A pop-up will require your confirmation to delete the Segment

click “Delete Segment” to confirm deletion; otherwise, click on “Go Back”.
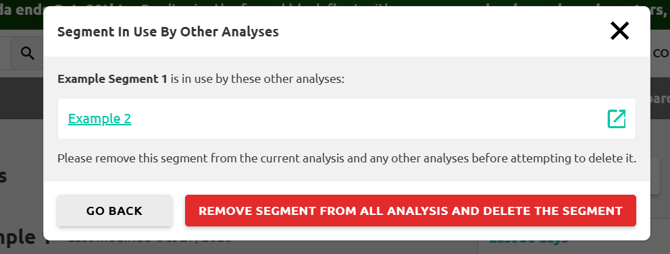
NOTE: If your Segment is attached to more than one Analysis:
In this case the Segment must be removed from all other Analyses before deletion. Click "Remove Segment From All Analysis and Delete the Segment" if you wish to proceed.