Learn how to set up a Prefilled collection here >
Step 1 – Navigating to your Collection Library
Hover over your avatar (top right on MyMiniFactory), select ‘Library’ and navigate to ‘Collections’.
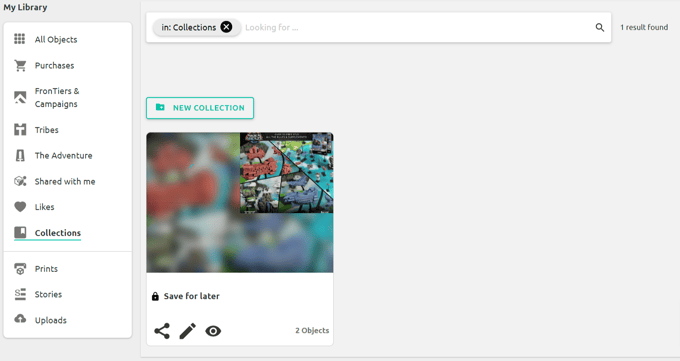
Please note: Your Save for later collection is a permanent collection, consisting of all objects you have marked as "Save for Later".
Select the ‘New Collection’ button. From here, you are able to fill in:
- Name (required) – the heading of the Collection (and the URL of the page)
- Description (optional) appears as subtext on your Collection page to provide further details of the Collection
- Public / private status – whether you would like this to be visible to the community or not yet
Once you have filled in the above fields, select ‘Save’.
Please note: changing the name of a collection will also change the URL. We advise against changing the name of a Collection once it has been created.
-png.png?width=485&height=420&name=Library-MyMiniFactory%20(1)-png.png)
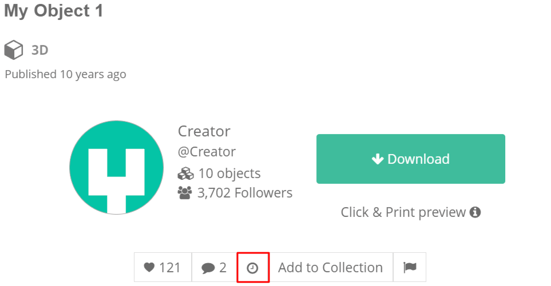
Navigate to any object page on MyMiniFactory (your full list of objects can be found in your Library). Beneath the object price, you will see the button ‘Add to Collection’. Select this and then choose the Collection that you just created (or create a new Collection from here!).
Any object can be made the cover of your Collection (which appears on your Profile). Simply navigate to the Collection, hover over the desired cover object and select ‘Set cover’.
And that’s it! Three simple steps that help streamline your Store’s navigation for customers and a great way to organize your objects.

