Please give your Creator Relations Representative at least 1 month notice to launch your FronTier. If you do not give enough notice it may cause delays for your project, as we have to review and schedule each FronTier.
The FronTier tool is used specifically for brand-new product releases, if you have previously launched this before on Kickstarter, you will not be able to use FronTiers. You are also unable to run both a Kickstarter campaign alongside a FrontTier simultaneously. You may however use our Pledge Manager services to distribute your rewards.
To learn about setting up the basics for your FronTier, you can watch this short video or read the article below.
Step 1 – Creating a New Campaign
Campaigns is the umbrella term to describe Pledge Managers and FronTiers.
Campaigns are created and managed in the Campaigns tab in your Settings.
Once you are on the Campaigns tab, use the “Create New” button to create a FronTier:

Make sure to select FronTier, add a Campaign Name and then select “Create”.

The ‘Section Menu’ is broken down into 5 sections; General, Premarketing, About, Milestones, and Rewards:

You can preview your campaign and view backers at any time by clicking their respective buttons.
Step 2 – General Tab
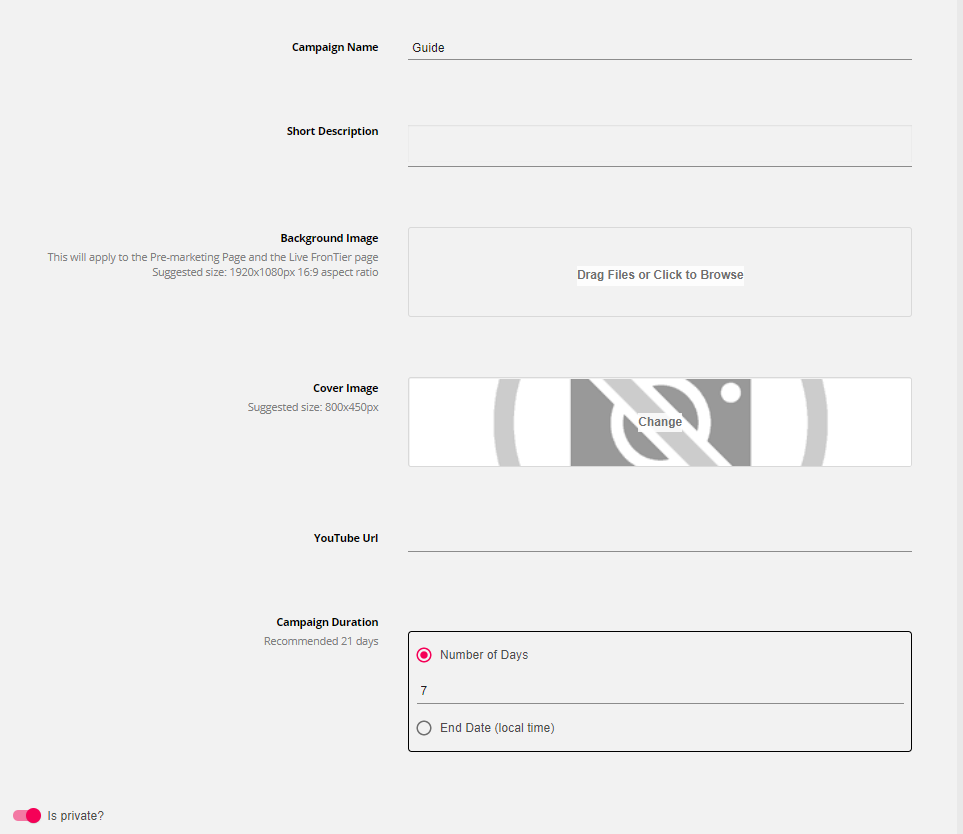
This is where you will add your description, images/video and set campaign duration. Keep your Campaign as ‘Is Private’ until you are ready to launch and have spoken with your Creator Relations Representative.
Videos must use the youtube embed link.
Set Duration:
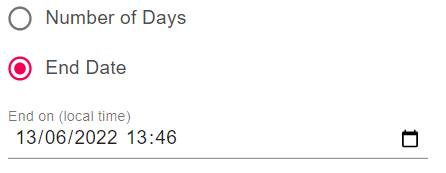
You can select the end date for your FronTier or select the number of days you would like it to run for.
To choose End Date, click the checkbox and select the date and time you would like to end the FronTier using the calendar symbol:
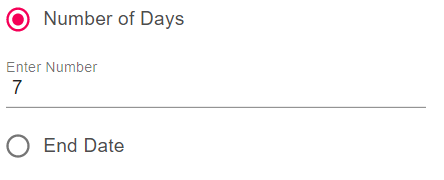
To select a number of days; click on the Number of Days checkbox and enter how many days you would like your FronTier to last: