To learn about setting up Milestones for your FronTier, you can watch this short video or read the article below.
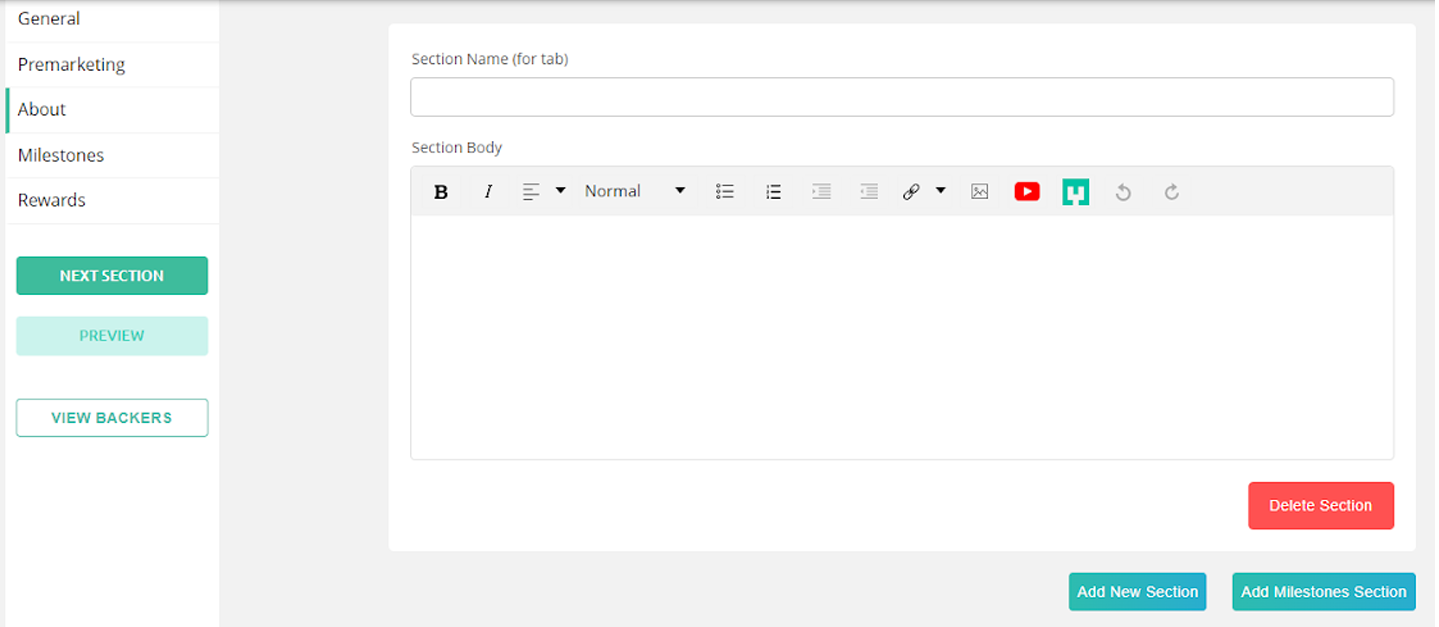
To display your Milestones, you must first add a Milestone section in the about tab (bottom right button).
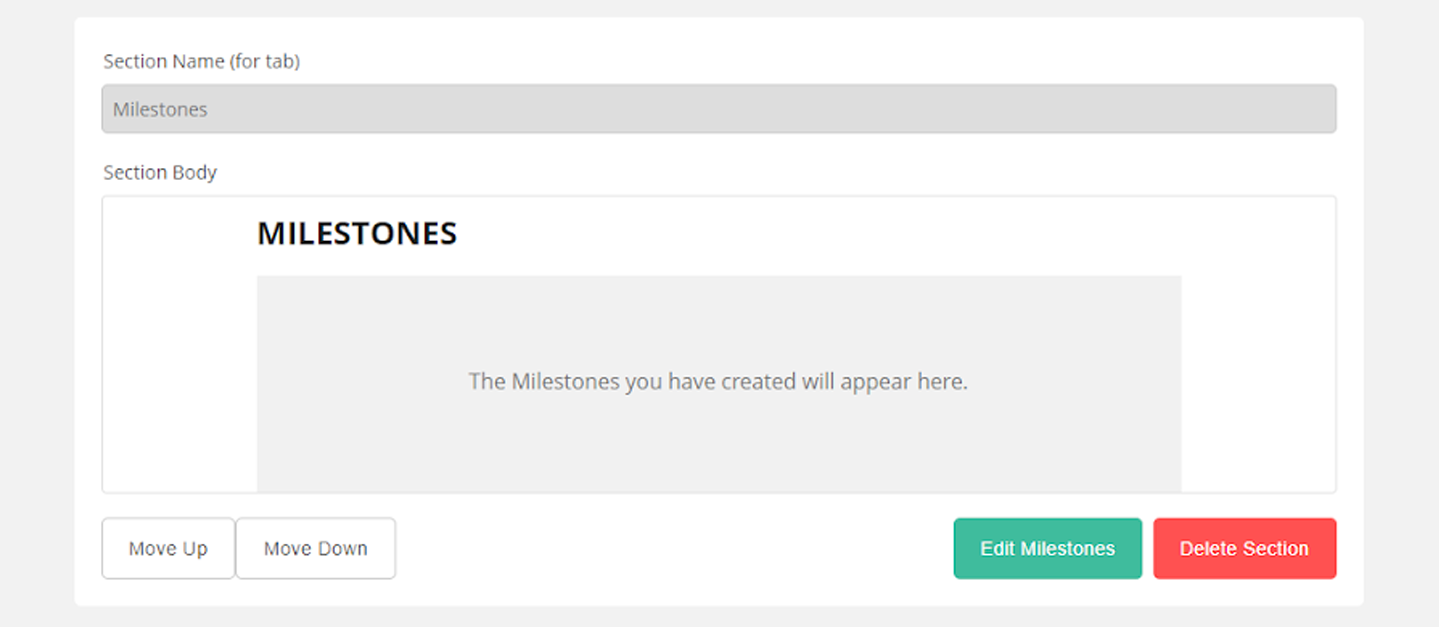
This will generate a new Milestone section. Similarly to the about sections, you can change the section order with the Move Up & Move Down buttons in the bottom left.
You can also go straight to the Milestone editor by clicking the Edit Milestones button in the bottom right.
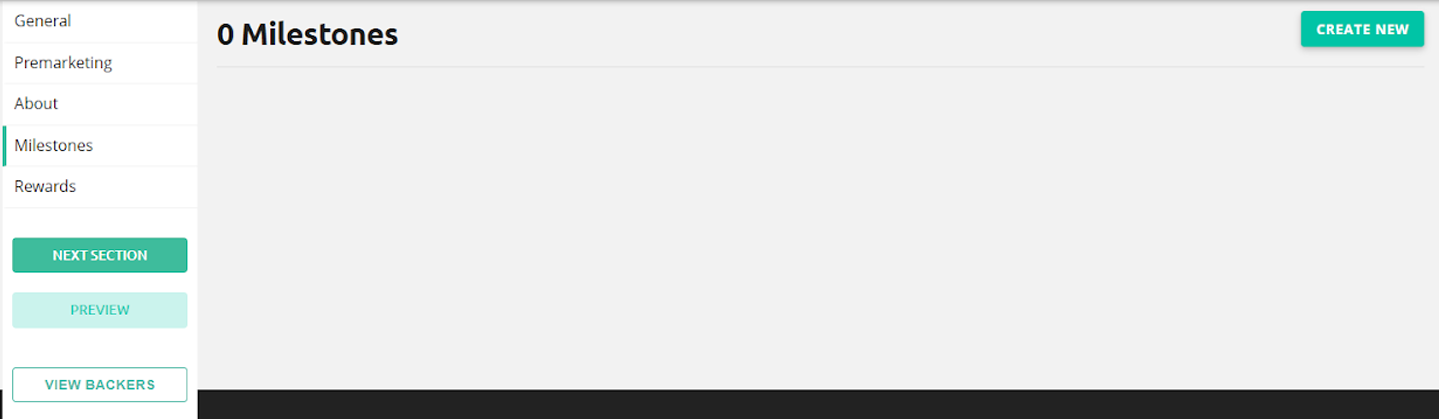
You can create a new Milestone by clicking the Create New button in the top right-hand corner.
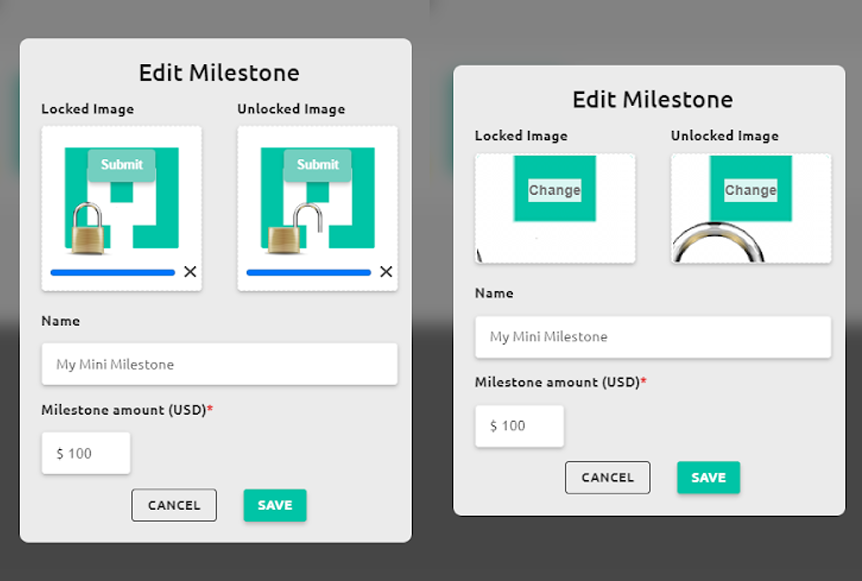
This will open the add Milestone popup. Here you can add the name of the Milestone and the amount pledged needed to pass it.
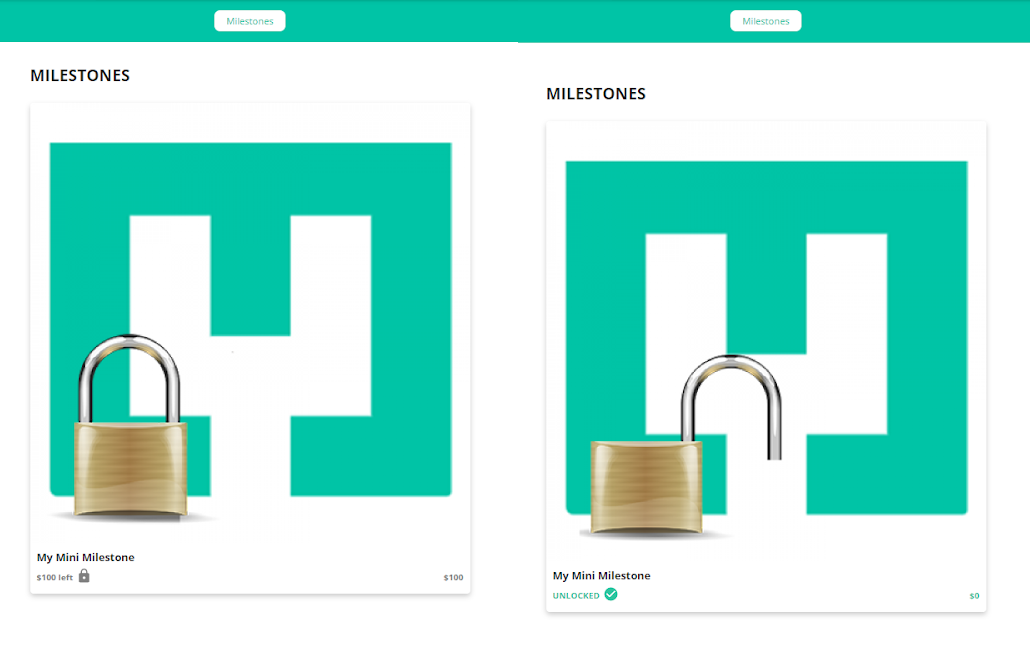
You can upload two images. The first will display before the Milestone has been passed (locked) the second will display after the Milestone has been passed (unlocked).
The images and the locked status of the Milestone will change over automatically as soon as the indicated amount has been pledged.
To avoid pixelation, warping or stretching, we recommend using images with a width of 700px or more.

After you have uploaded your images make sure you click submit and add the name and amount before you save, you will know the images have been submitted correctly as the popup will now read change.
As noted earlier, you can now check to see how your new Milestone looks using the eye icon. Below, you can see an example of a locked Milestone on the left and and unlocked on the right.
The Milestone will automatically track how much more needs to be pledged before it unlocks.